Install Switchboard
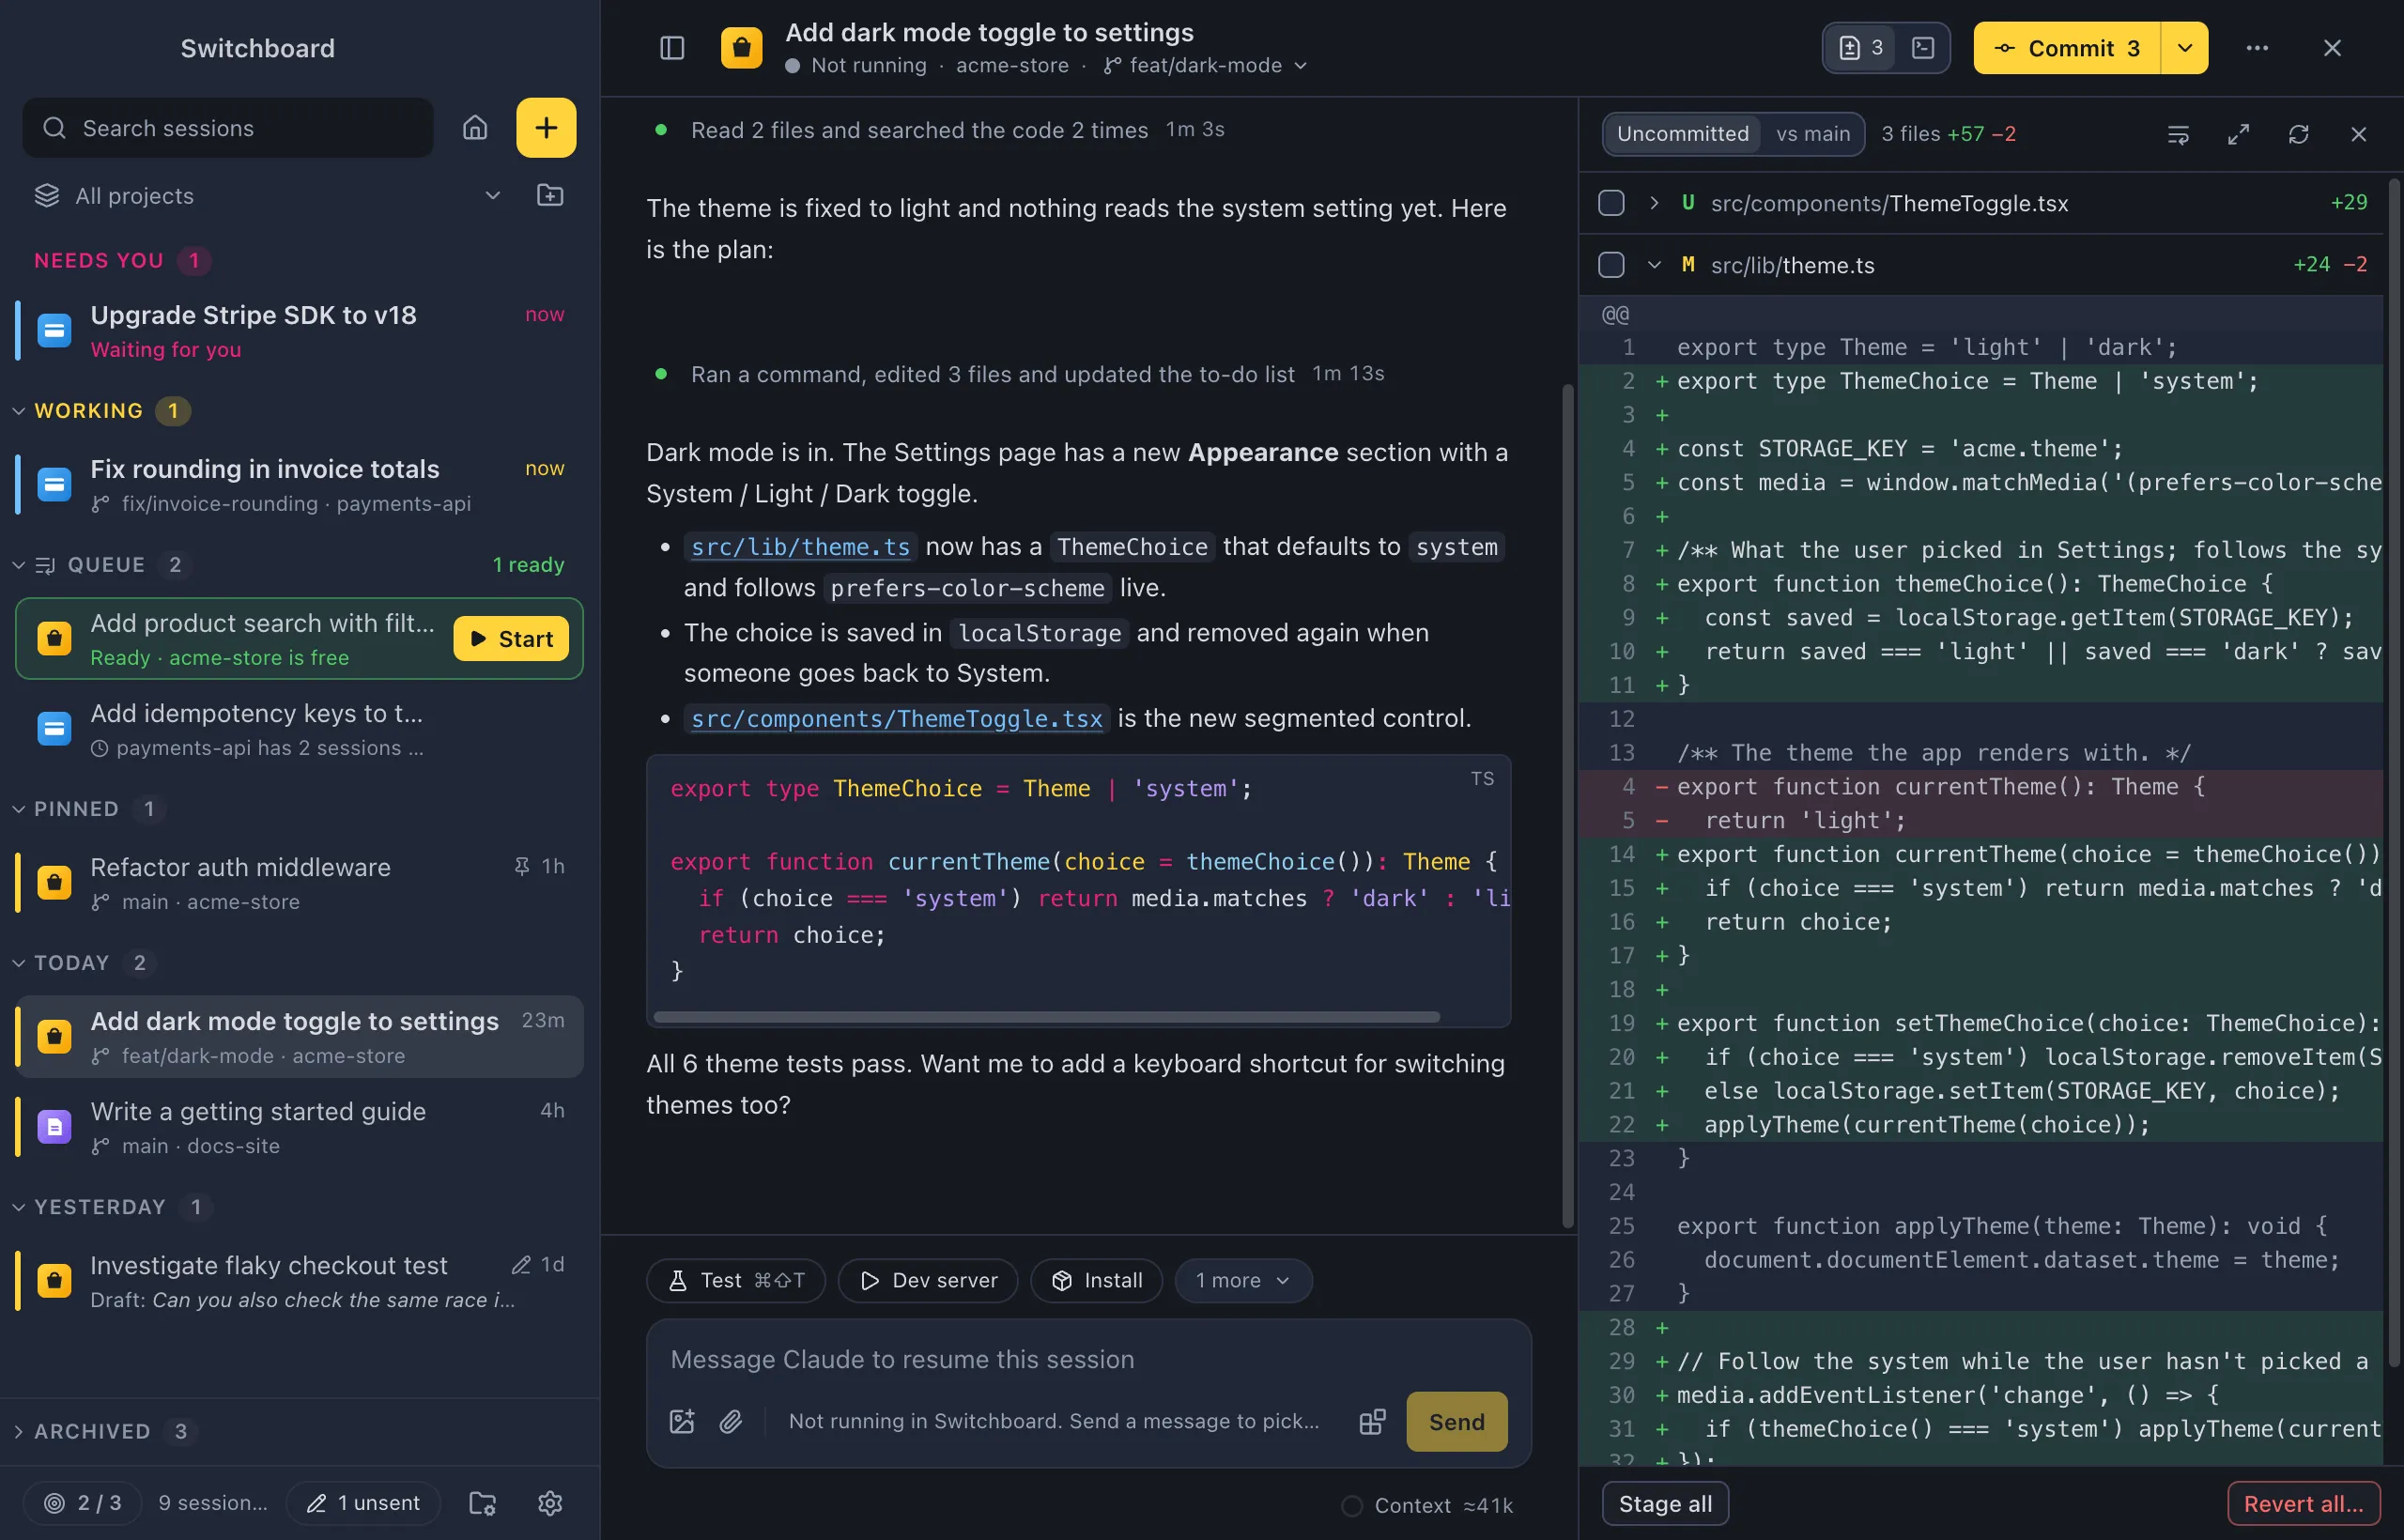
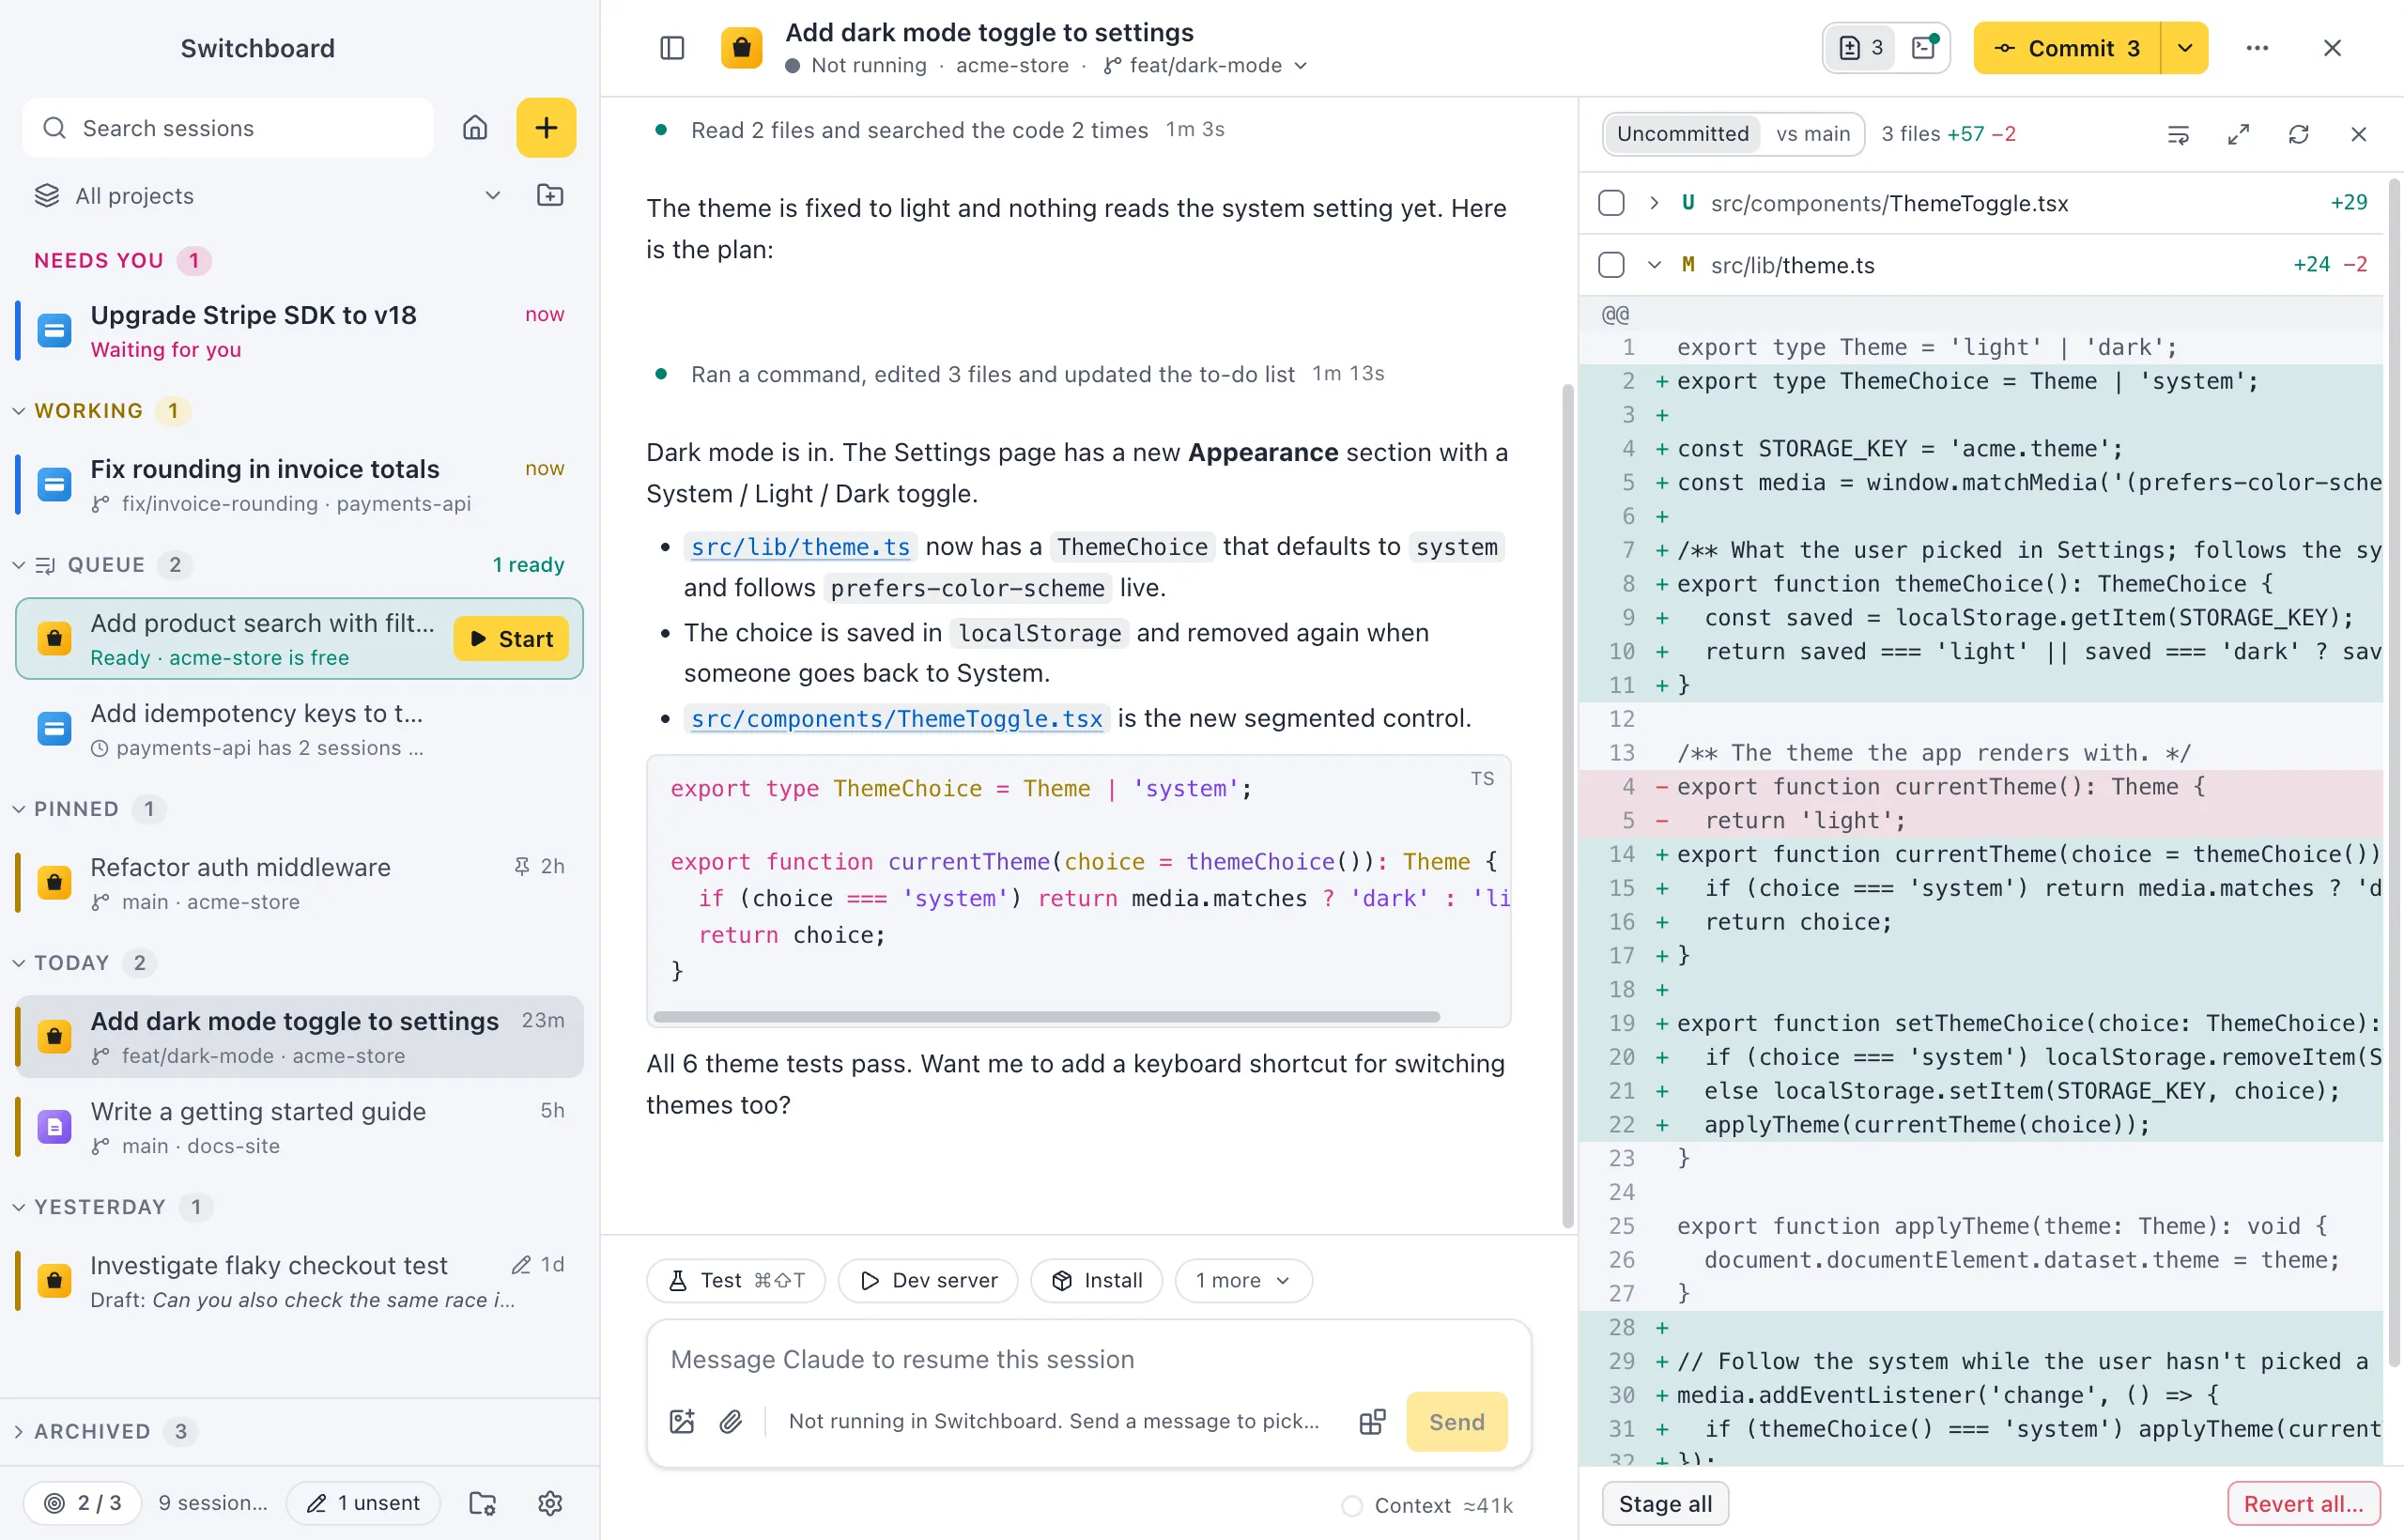
Switchboard is a desktop app for macOS and Windows for running and keeping track of your Claude Code sessions. It uses the Claude Code you already have, with your own login, settings, commands and skills, so there is nothing extra to sign in to.
Requirements
Section titled “Requirements”- A Mac with Apple Silicon, or a PC with Windows 10 or 11 (x64 or Arm64).
- Claude Code installed and signed in. If
claudeworks in your terminal, you are ready. - On Windows: Git for Windows, for Claude Code and for the Changes panel and git features. PowerShell 7 is recommended; the Windows PowerShell every PC has works too.
Download the app
Section titled “Download the app”- Download the
.dmgfrom the latest release. - Open it and drag Switchboard to Applications.
- Open Switchboard from Applications or Spotlight.
Releases are signed and notarised by Apple, so macOS opens them without asking.
Install on Windows
Section titled “Install on Windows”Download Switchboard-<version>-setup.exe from the latest release.
- Download
Switchboard-<version>-setup.exe. It is one installer for x64 and Arm64 PCs: it installs the build that matches yours. - Run it. It installs for you only, in
%LOCALAPPDATA%\Programs\switchboard, without asking for admin rights, and adds Switchboard to the Start menu and the desktop. - Switchboard opens when the installer is done. Later, open it from the Start menu.
If Windows SmartScreen says “Windows protected your PC”, the installer isn’t signed: see If Windows blocks the installer.
Install with Homebrew
Section titled “Install with Homebrew”If you use Homebrew, install the cask:
brew install --cask estruyf/tap/switchboardSwitchboard updates itself, so brew upgrade skips it. To update it through Homebrew instead, run:
brew upgrade --cask estruyf/tap/switchboardBuild it from source
Section titled “Build it from source”You can also build the app from the repository. You need Node 24 or later, and it takes a couple of minutes. npm run dist builds for the system it runs on: a .dmg on a Mac, an installer on Windows.
npm installnpm run distThen open apps/desktop/dist/Switchboard-<version>-arm64.dmg and drag Switchboard to Applications. A build you make yourself updates like a release.
Build it on Windows
Section titled “Build it on Windows”On Windows 10 or 11, run the same commands in PowerShell, with Node 24 and npm 11 or later, and Git for Windows. No Visual Studio build tools are needed. The build makes apps\desktop\dist\Switchboard-<version>-setup.exe; run it to install. A build you make yourself updates like a release.
If macOS blocks the app
Section titled “If macOS blocks the app”A build you make yourself without a Developer ID certificate is unsigned. It opens normally on the Mac that built it. On another Mac, macOS blocks the first launch. Right-click the app and choose Open, or remove the quarantine flag in a terminal:
xattr -dr com.apple.quarantine /Applications/Switchboard.appIf Windows blocks the installer
Section titled “If Windows blocks the installer”An installer you build yourself is unsigned. On another PC, Windows SmartScreen stops it with “Windows protected your PC”. Choose More info, then Run anyway. The repository’s notes on building and signing have the details.
Uninstall
Section titled “Uninstall”Quit Switchboard and drag it from Applications to the Trash. With Homebrew, run brew uninstall --cask estruyf/tap/switchboard.
Open Windows Settings › Apps, find Switchboard and choose Uninstall. This also removes the switchboard:// link handler Switchboard registered.
Your sessions stay in Claude Code’s folder, and Switchboard’s own data (projects, actions, preferences) stays in ~/Library/Application Support/Switchboard%APPDATA%\Switchboard. Delete that folder too if you don’t want to keep it.
Updates
Section titled “Updates”Switchboard checks for a new release shortly after it opens and every few hours, and tells you in the corner of the window when there is one. It also checks whether the Claude Code it runs is up to date. See Updates for how it works and how to change it.
Settings
Section titled “Settings”The update checks and the update channel are in Settings, About. Open Settings with Command, CommaControl, Comma.
Next steps
Section titled “Next steps”- First launch: what you see when Switchboard opens.
- Your first session: start Claude on a project.
- Switchboard on Windows: what is different on a Windows PC.