
Worktrees
A worktree is a separate checkout of your repository on a branch of its own. Starting a session in a new worktree works like claude --worktree: Claude works in the copy, and your own checkout stays untouched, so you can run several sessions on one project without them editing the same files.
Open it
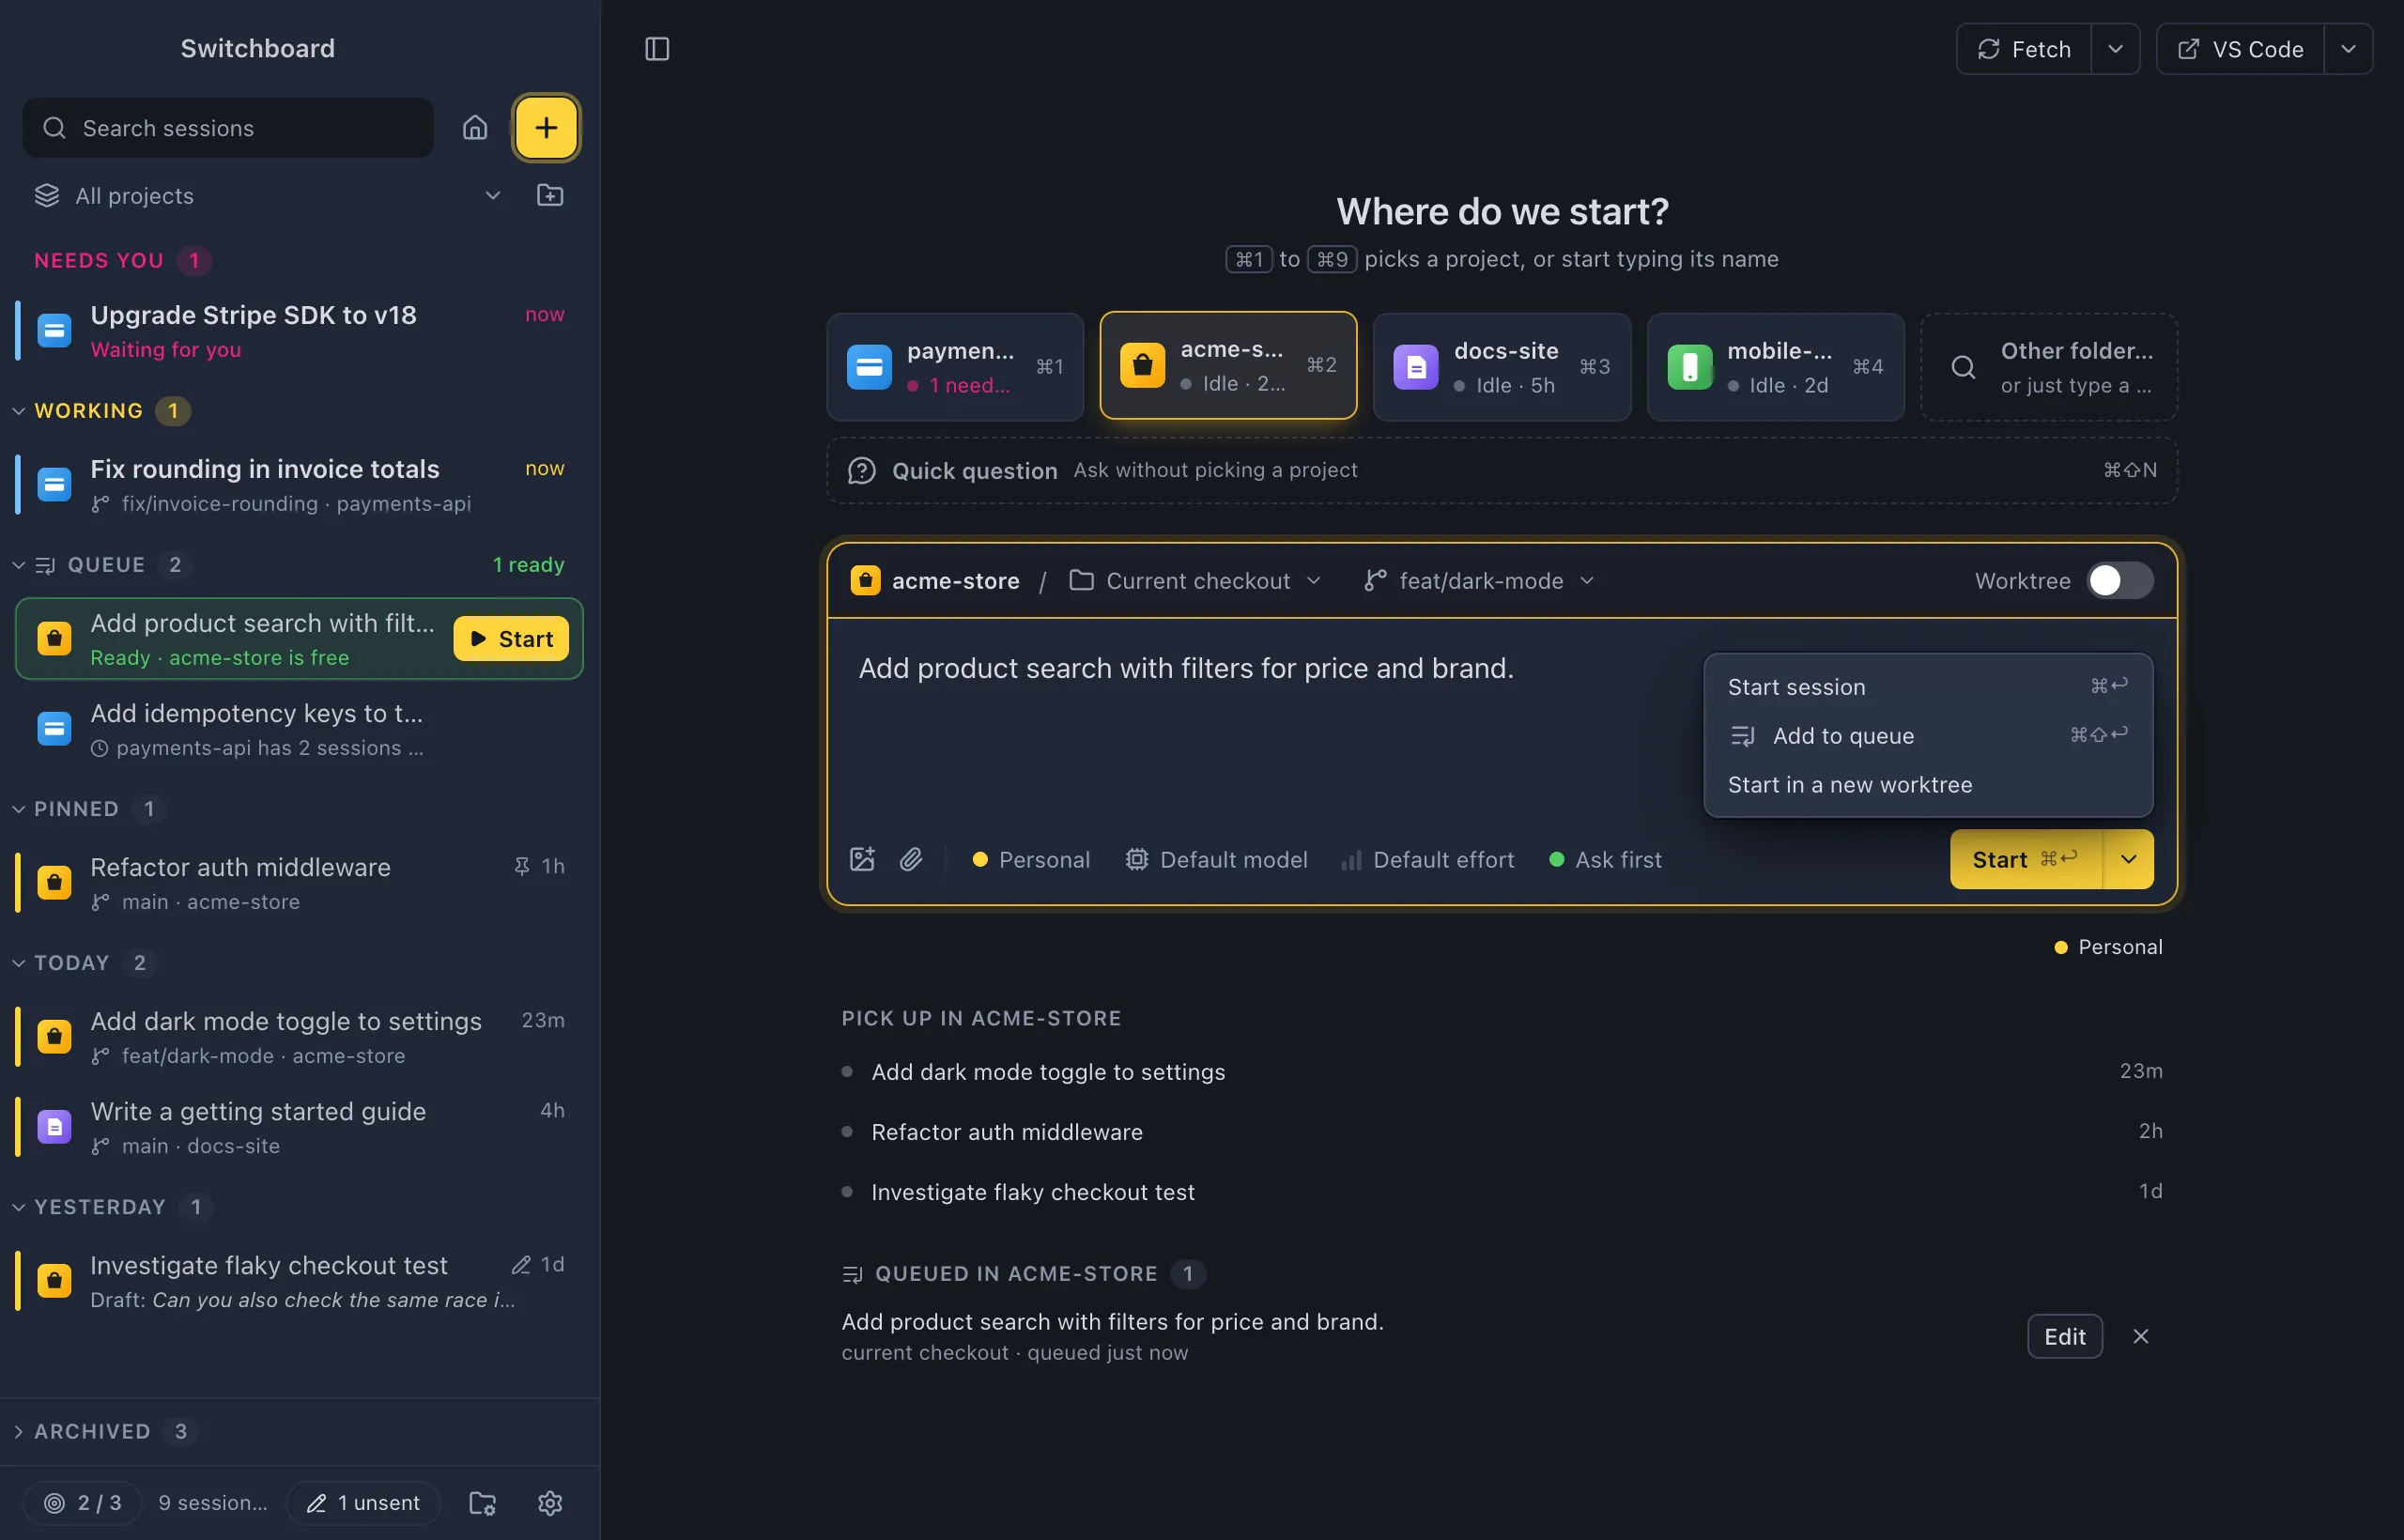
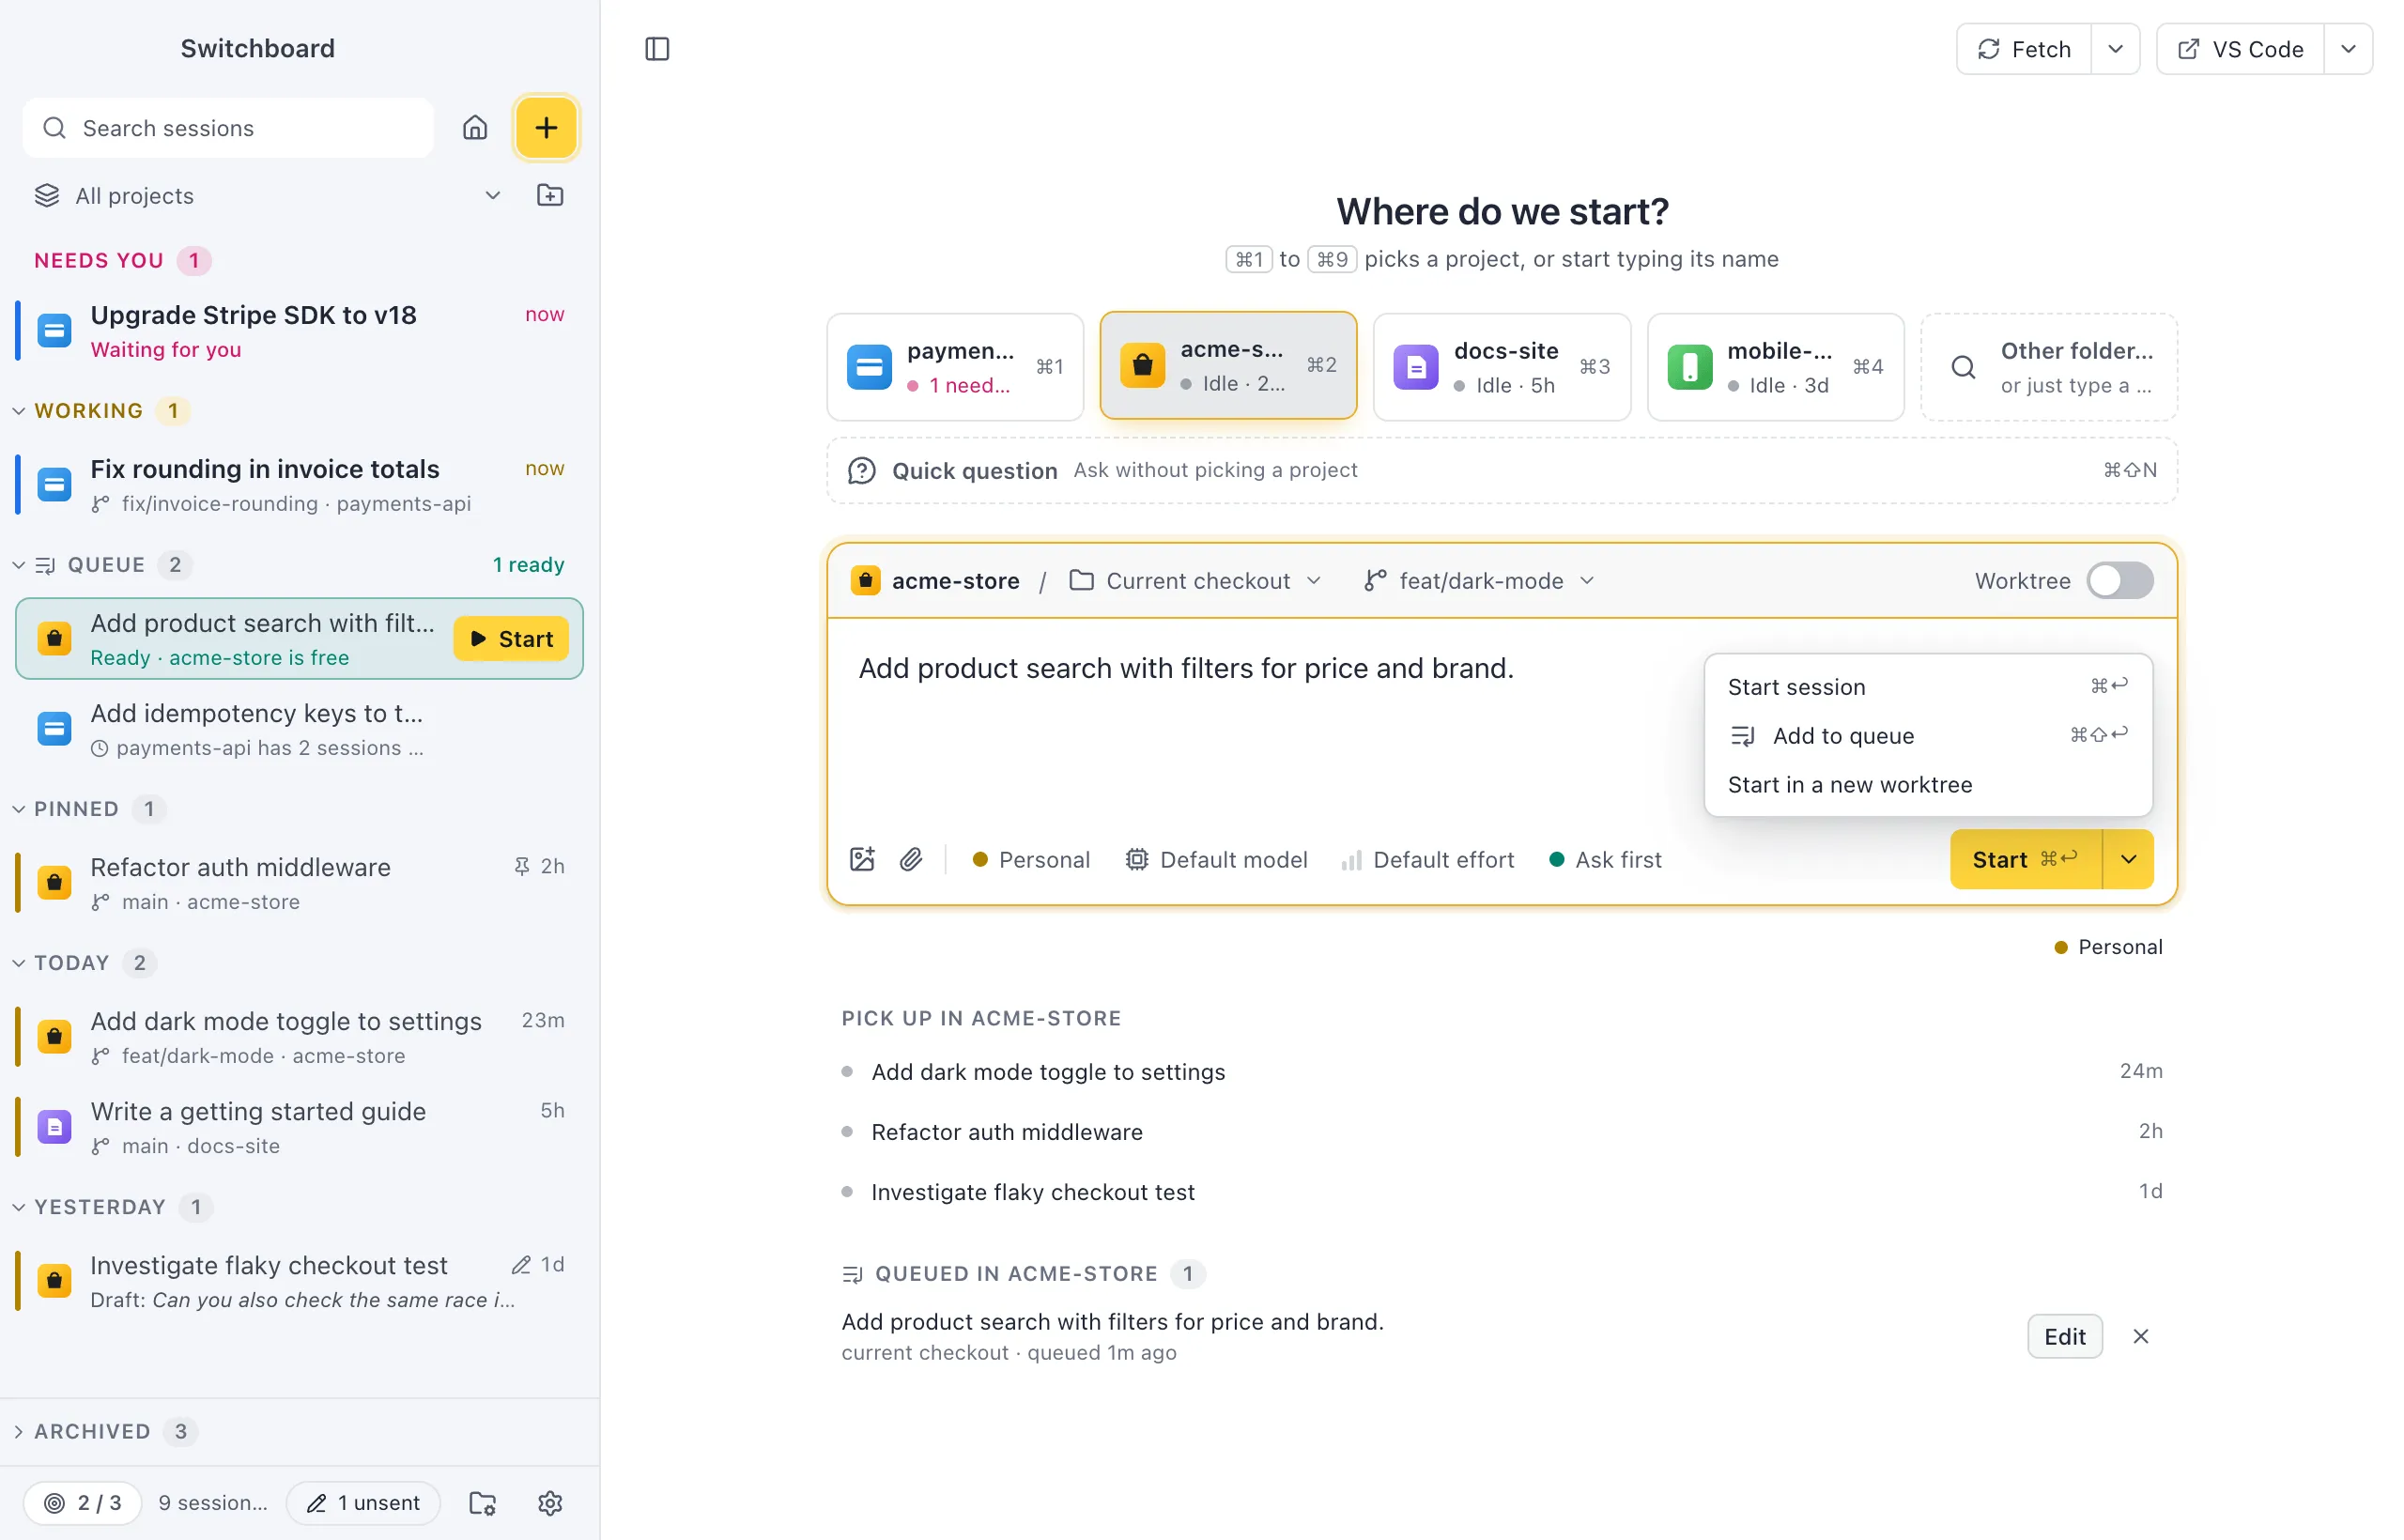
Section titled “Open it”In New session, on a project that is a git repository:
- Flip the Worktree switch at the right of the route strip, or pick New worktree in the Where menu.
- Or keep the current checkout and choose Start in a new worktree in Start’s ▾ menu, for this one session.
- In the command palette, New session in a worktree… picks a project and starts in a new worktree. In the palette’s project list, Option, ReturnAlt, Enter picks a project in a worktree. With New session open, Toggle worktree flips the switch.
- A session’s git button menu has New worktree…, which opens New session on that project with a new worktree chosen.
A folder that isn’t a git repository can’t have a worktree: the switch is greyed out with “Needs a git repository”.
Start in a new worktree
Section titled “Start in a new worktree”- Choose New worktree as the route. The strip now shows New worktree and the branch it starts from.
- Pick what it branches from in the branch menu (Branch from):
- the remote’s default branch, such as
origin/main(marked default, Claude Code’s default); - your local HEAD (marked local HEAD), which includes your unpushed commits.
- the remote’s default branch, such as
- Optionally give it a name (see below).
- Write the prompt and press Start (Command, ReturnControl, Enter).
The worktree goes in .claude/worktrees/<name> inside the project, on a new branch worktree-<name>. Hover the route for where it will be: “Isolated in .claude/worktrees/amber-baking-acorn · your checkout stays untouched”.
Its name
Section titled “Its name”Every new worktree gets a made-up name of three words, such as amber-baking-acorn. The name shows as the placeholder in the Where menu, after worktree-. Type your own name there to use it instead; characters other than letters, digits, dots, dashes and underscores become dashes. After a start, the next worktree gets a new made-up name.
Set up each new worktree
Section titled “Set up each new worktree”A fresh worktree has no installed dependencies or local files. A project action can do that: turn on Run when a new worktree is created in the action’s editor (for shell commands). It runs before Claude starts in each new worktree session, for example npm install, in a terminal tab named “Setup: <action>”. Claude’s first message waits until it has finished.
Finish a worktree
Section titled “Finish a worktree”A session in a worktree shows worktree · <branch> in its header. Click it, or run Finish worktree… in the command palette, to see where the worktree stands (commits ahead of the base branch, behind, uncommitted files, pushed or not) and to finish it:
- Merge into <base>… merges its commits into the base branch in the main checkout, in a terminal tab so you see the result. The worktree stays; remove it afterwards. This needs a clean worktree with commits of its own, and a main checkout that is on the base branch without uncommitted changes.
- Remove worktree… deletes the worktree’s folder and stops the session in Switchboard. The conversation stays in your history. Also delete the branch is ticked by default; Switchboard warns you when the branch has commits that aren’t merged or pushed.
When an action isn’t possible, the menu says why, such as “Commit or revert the uncommitted changes first”. Commit, push and pull requests are on the session’s git button.
Clean up worktrees
Section titled “Clean up worktrees”Worktrees pile up: each one is a full checkout, often with its own node_modules. A project’s Worktrees tab lists every worktree with its sessions, changes, size on disk and pull request, suggests which ones can go, and removes several at once.
Settings
Section titled “Settings”To start every new session of a project in a worktree, choose New worktree and press Save as project default in the Where menu, or set it on the project’s Settings tab. Setup actions live on the project’s Actions tab.